Posted by Unknown | Posted in Tutorial | Posted on
Ever thought of publishing your WordPress posts without logging into your account and with great formatting? Yes, that is possible with the use of the free tool from Microsoft named Windows Live Writer. Let us explore the tool in depth and as an extension of WordPress.
Introduction
Windows Live Writer is a free versatile tool from Microsoft’s Live Essentials pack and stands out for being the most convenient multi-platform blogging tool. This software equips an author with all the necessary tools required for writing, formatting and optimizing their blog posts. Windows Live Writer or simply WLW in short has the best WYSIWYG editor, better media and image insertion options and amazing formatting features.
WLW when used with WordPress allows you to publish your posts directly from your desktop without logging into your admin panel.
Advantages
- Multiple blog platform support
- Retrieve the theme of your blog while creating posts
- WYSIWYG editor
- Backup and Draft feature for your posts
- In-built image editor and enhancer
- Spell checker
- Blog post scheduling
- Along with posts add categories and tags right from your desktop
- Auto linking of posts
- Comments moderation
- Lots of plugins to enhance productivity
- Edit your older blog posts along with new posts
And many more…
“Create all your posts faster in offline mode and then sync when required”
Installing and Configuring WLW
Before installing WLW please login to your WordPress admin panel, under Settings -> Writing check the Atom Publishing Protocol and XML-RPC checkboxes and finally save the changes. This enables the Atom Publishing Protocol and XML-RPC publishing interfaces for your blog, which are required for remote publishing.

You can download the latest software from the official Windows Live Writer 2011 download page, this will install Windows Live Essentials by default. While installing Windows Live Essentials it will ask you to install all the Live products or the specific products. Here you may choose to install only the WLW. The software and hardware requirements for installing WLW are given on the same page.
Though this software can only be used by computers running Windows OS, Mac or Linux users can easily install the same with the help of Virtualbox and a Windows license.
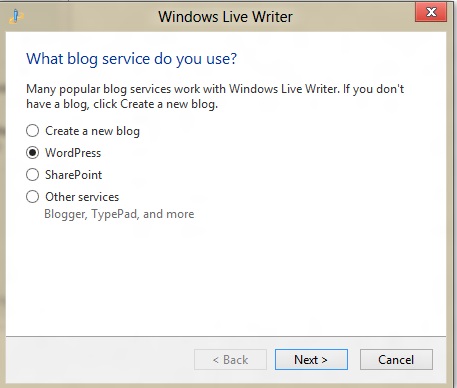
Depending on your internet connection the installation may take a few minutes. To get started please open WLW, the first screen will be a welcome message which can be dismissed by clicking on the ‘next’ button. The next step asks you to select your blogging platform. Please select ‘WordPress’ and click on ‘next’.
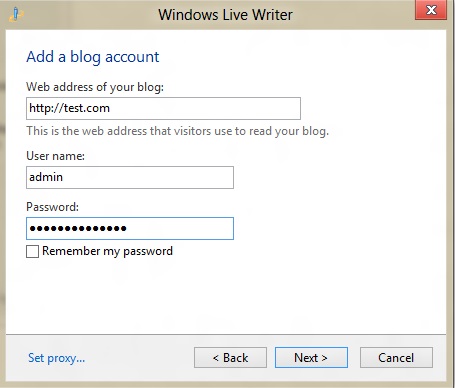
Next you need to insert your blog’s URL, admin username and password. Clicking on ‘next’ will verify the credentials and then connect to your blog. Click on ‘Yes’ if WLW wants to update itself with the current theme of your blog.
The final step will ask you to change your blog’s name or keep it as default.
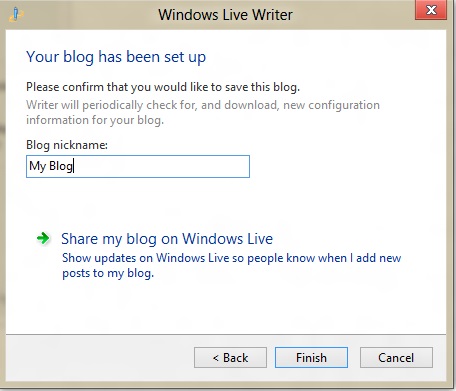
Now you are ready for remote publishing.
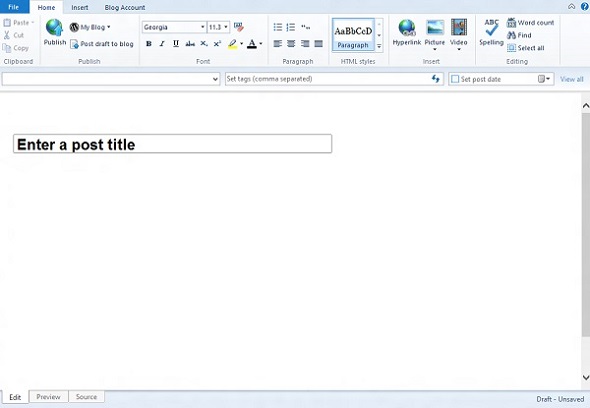
The Windows Live Writer Workspace
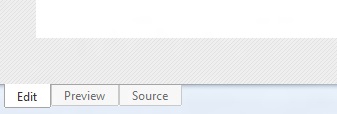
The WLW workspace provides three types of views located at the bottom.
- Edit – This is the area in which you will actually compose the post
- Preview – This shows the live preview of the post in your current theme
- Source – This shows the source code of your post
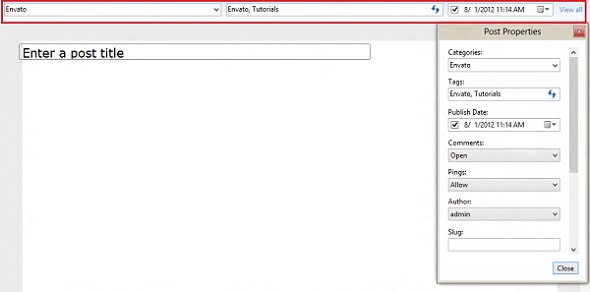
Using the Post Properties toolbar you can add categories, tags, schedule publication, enable comments, pingbacks, assign author name from your WordPress user list, define slug, excerpt, trackback URLs etc. You need to click on the View All link to expand the Post Properties toolbar.
Here you can also password protect your post so that only limited visitors can see it.
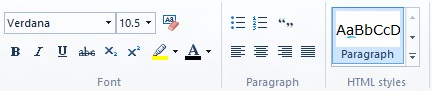
Under the Home menu you can find various formatting options similar to Microsoft Word. Here you can change the font style, size, color and also define your paragraph heading styles.
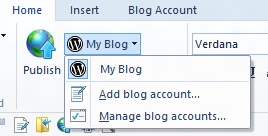
The My Blog sub menu under the Home menu has three options.
- My Blog – If you have linked multiple blogs with WLW then it will show the currently selected blog name. You can easily switch between different blogs.
- Add Blog Account – This option lets you add new blog accounts to WLW.
- Manage Blog Accounts – This option lets you view, edit and delete existing blog accounts. Here you can change the different configurations of your blog supplied while installing WLW.
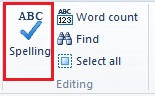
The Spell Checker button under Home menu lets you check for spelling errors in your post.
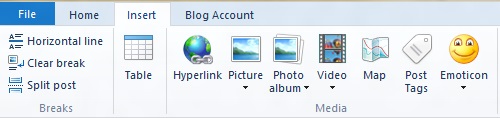
The Insert menu lets you insert – hyperlinks, pictures, videos, maps, split post, tables, emoticons etc. We shall look into all these shortly.
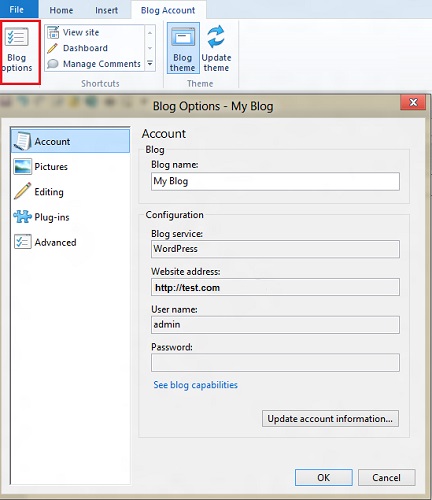
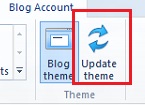
Under the Blog Account menu we have two important options – Blog Options and Update Theme.
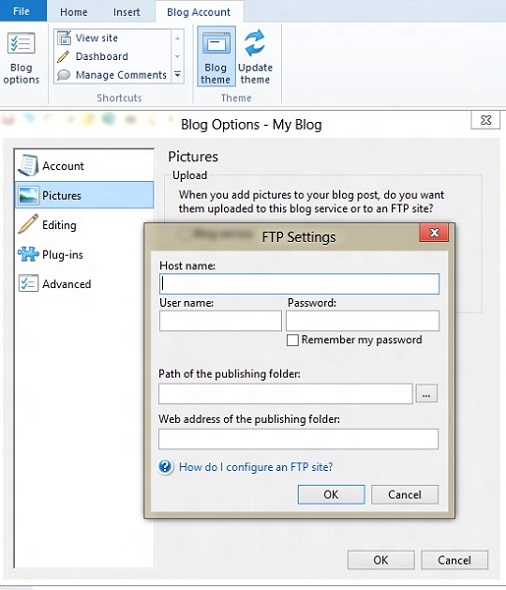
The Blog Options lets you specify different options for your currently selected blog, such as you can change your blog’s configurations along with the login credentials and also you can specify your FTP settings so that the uploaded pictures are saved in your FTP folder.
The Update Theme option lets you update WLW with the current theme of your WordPress blog for live preview.
Let’s Create a Post
Let us create a post with all the necessary tools.
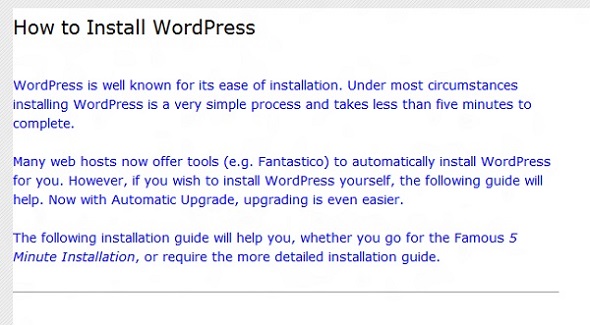
Here we have created a simple post with an optional Post Title, a few paragraphs, blue font color and a horizontal line.
Insert Picture
You can insert a picture using different methods in WLW. By using Insert -> Picture -> From your computer / From the web you can insert a picture from your hard drive and internet respectively. You can also drag and drop a picture in the workarea.
Once you insert the picture in the post, the picture formatting options automatically appear in the toolbar. The picture formatting toolbar lets you do the following things.
- Crop the picture
- Resize the picture
- Rotate the picture
- Use different picture borders
- Use different picture effects like recolor, sharpen, blur and emboss
- Image contrast and watercolor effects
- Insert margins
- Align images

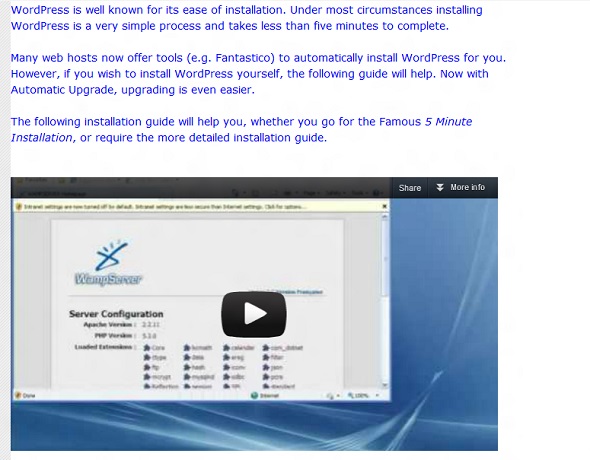
After inserting a picture and applying some of these effects our post looks like this.

Insert Video
Like pictures, videos can be also be embedded in your posts using different methods. Using the Insert -> Video menu you can insert videos From Web / From File / From Video Service. The first two options let you insert video from the web and your PC respectively. However, the third option is used to directly log into video services like YouTube and insert the video.
You can also insert video by simply pasting the URL of the video in your post.
Let’s add a video to our post.
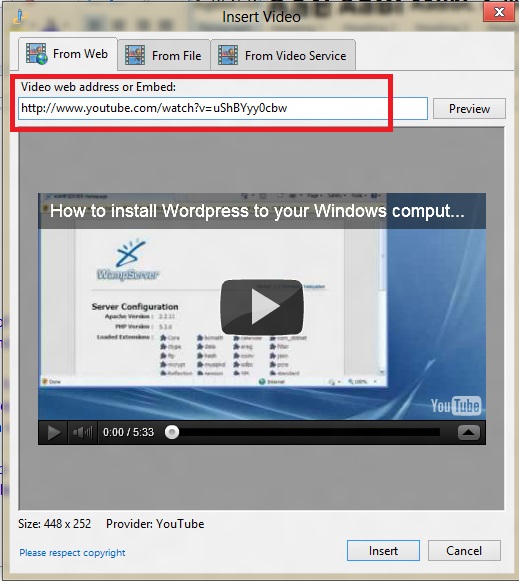
Here we have pasted the URL of the video in the specified field and then inserted the video after a preview. You can resize the Video as per requirements.
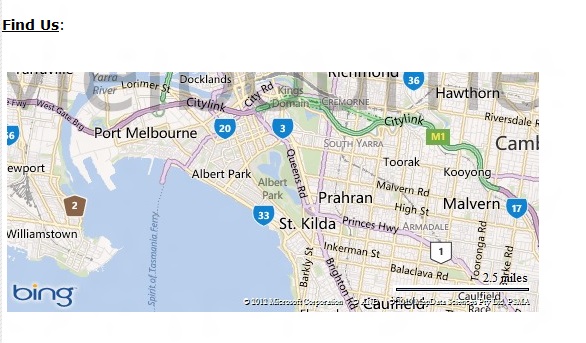
In the same way you can insert maps and hyperlinks to your older posts.
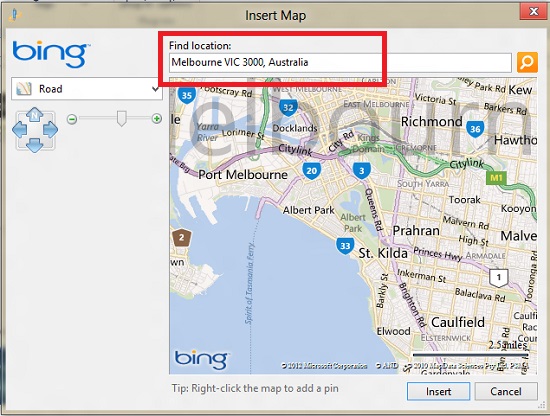
To insert a map, go to Insert -> Map and then put your location in the specified field.
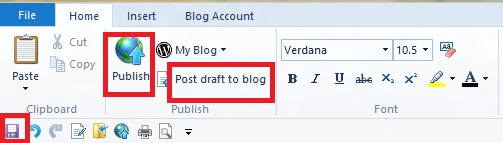
Let’s Publish
Finally after everything has been done, you can do either of three things. Save the post on your hard drive, save it as a draft in WordPress or Publish in WordPress. Before publishing don’t forget to preview it live in your theme.
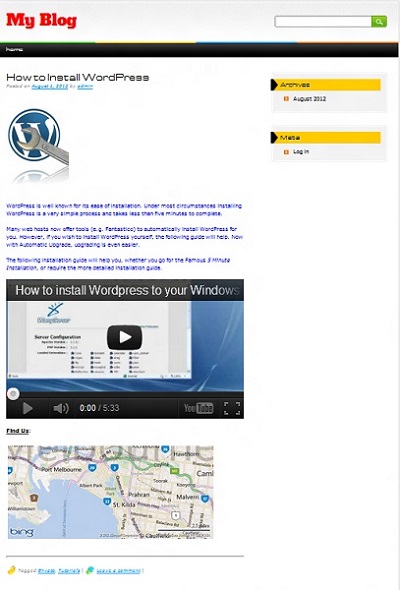
Finally after publishing our post.
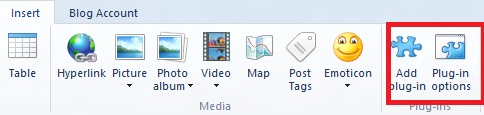
Installing Plugins
You can enhance WLW with the help of plugins. To do so please go to Insert -> Add Plug-in. It will open the plugin site from which you can install the latest plugins. The Plug-in Options button helps you to detect the currently installed plugins in WLW and uninstall them.
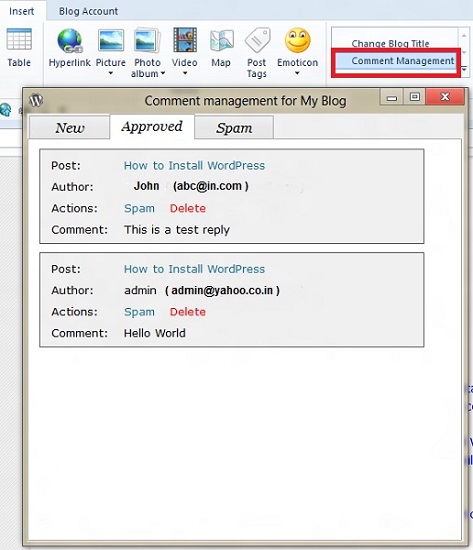
A very useful plugin has been created by the Windows Live Writer Team. You can download the plugin’s DLL file and save it in the Plugins folder of Windows Live Writer. This plugin is named ‘WordPress Comments’ plugin and it helps in comments moderation right from the WLW. You can view, approve and delete user comments right from your WLW workspace.
Conclusion
In this tutorial I have tried to cover many features of WLW and WordPress. But there are lots more and you will learn them once you start using it. Thanks for reading, and please let us know in the comments if you have other tips for using Windows Live Writer with WordPress, or if you recommend alternative software for non-Windows WordPress users.
Source : http://wp.tutsplus.com


Comments (0)
Post a Comment